
Starlink Mini Battery Runtime: How Long 99–200Wh Last
Planning estimates for Starlink Mini battery runtime at 99Wh, 158Wh, 180Wh and 200Wh, with stated assumptions and capacity tips.
Read more →
Starlink Mini works out of the box with just a power cable and a flat surface. But the moment you take it off-grid — camping, a rooftop, a boat deck, a remote job site — you’re shopping for Starlink Mini accessories, and most guides on this dump ten products on you without saying which one actually matters.
Here’s the short version: for anyone using Starlink Mini away from a wall outlet, the battery is the accessory that determines whether the rest of your setup works at all. Mounts, cases, and solar panels are worth adding, but they’re solving smaller problems than power is.
If you’re only ever using Starlink Mini plugged into a wall at home, no — the stock kit is fine. Accessories start mattering the moment you take it somewhere without a reliable outlet: a campsite, a van, a boat, a job site, a flight delay in an airport lounge. At that point the question isn’t “which accessories are cool” — it’s “which ones does my specific use case actually require.” That’s what this guide walks through, starting with the one that matters most.
A phone charger in your bag won’t run Starlink Mini. Starlink’s own documentation lists a minimum power requirement of 100W (20V/5A) — well above what most consumer USB-C power banks are built to deliver. That rules out the power bank already in your bag before efficiency even enters the conversation.
We’ve covered why a dedicated battery beats a USB-C power bank in more depth, but the short version: a battery built around Starlink Mini’s actual 15–21V DC input skips the negotiation and voltage-conversion steps a USB-C power bank has to go through, so you get more of the runtime you’re paying for.
SINVYX batteries also snap directly onto the Starlink Mini body through an integrated clip-on connector — insert and it starts charging, with no loose DC cable to route or catch on gear. It’s a small detail, but it’s one less loose cable to snag on a branch or a boat rail.
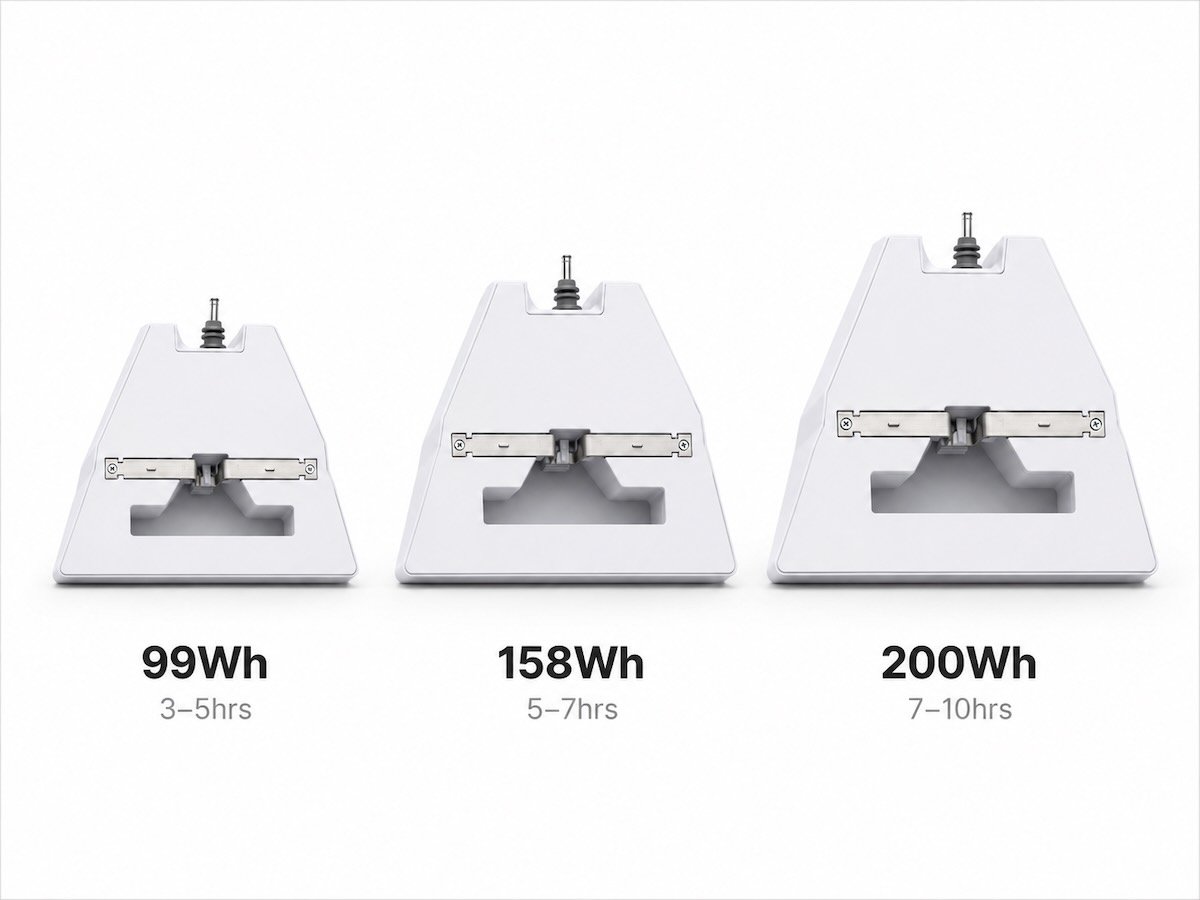
Watt-hours (Wh) is the number that tells you how long a battery will actually run Starlink Mini — not the brand, not the weight, not the marketing copy. As a rough guide:
Buy for your actual use case, not the biggest number available. A 200Wh battery is extra weight you don’t need if you’re only ever running Starlink Mini for a two-hour afternoon session.
The efficiency gap isn’t just theoretical. When a USB-C power bank powers Starlink Mini, the two devices have to negotiate a voltage and current profile, and the dish then converts that incoming power to what its internal components actually use. A battery built to output DC power directly at Starlink Mini’s operating voltage skips both steps. In practice, that’s translated to roughly 15–20% more usable runtime per Wh in our own testing — not an independently audited number, but consistent with what you’d expect from removing a conversion step instead of adding one.
If you’re comparing specific battery brands rather than deciding whether you need one at all, our 99Wh vs 158Wh vs 200Wh comparison and SINVYX vs PeakDo LinkPower breakdown cover that in detail.
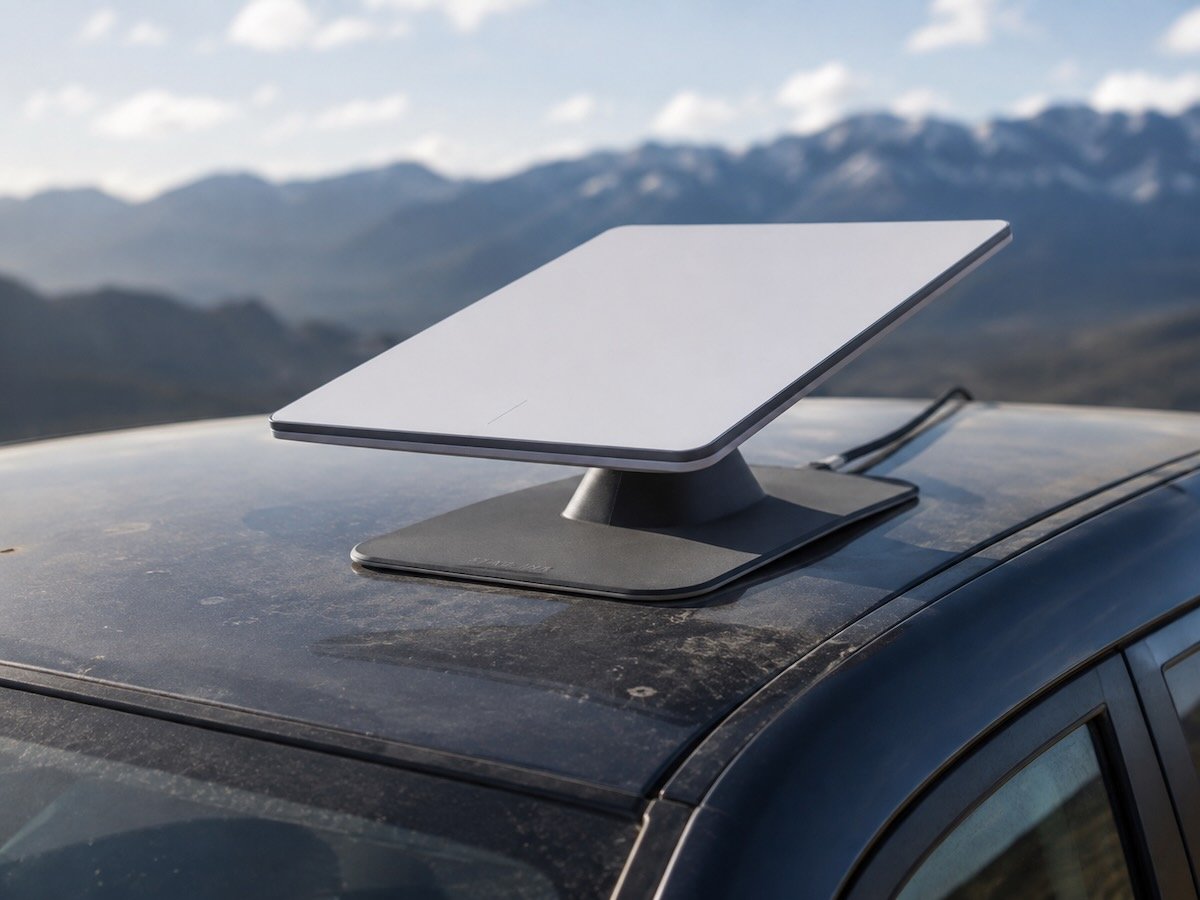
Once power is handled, where the dish sits matters more than most people expect — a flat surface with a clear view of the sky is the only hard requirement, but how you attach it depends on what you’re attaching it to.
There’s no universal answer here — match the mount to your roof material and how often you’re moving the dish, not to whatever’s most popular in a forum thread.
Not always. If Starlink Mini stays mounted in one spot for the season — a fixed van roof position, a permanent camp setup — a case adds bulk without solving a real problem. Where a case earns its cost is transport: throwing the dish, cables, and battery into a truck bed or checked luggage between trips. A hard case with a cut foam insert keeps the dish from taking the kind of impact that cracks housing or damages internal antennas, and it keeps you from hunting for a loose cable at 6am on travel day.
If you’re setting up once and leaving it, skip the case. If you’re packing up and moving every few days, it’s worth the money.
A solar panel isn’t a default accessory — it’s a fix for one specific problem: you’re off-grid long enough that your battery’s stored charge runs out before you can recharge it another way. For a weekend trip, skip it. For extended off-grid stretches — multi-day boondocking, a remote job site with no shore power, weeks at anchor on a boat — it’s the difference between planning around a battery that will eventually die and not thinking about power at all.
If you do add one, a 100W+ panel is the general benchmark for a reasonable recharge time; anything smaller trickles in power slower than most people expect, especially on cloudy days.
What accessories do I actually need for Starlink Mini?
A dedicated battery if you’re using it away from a wall outlet — that’s the one non-negotiable accessory. A mount, case, and solar panel are situational, and which ones you need depends on your specific use case, not a generic checklist.
Can I use a regular power bank instead of a Starlink Mini battery?
Only if it supports 100W (20V/5A) USB-C PD output, and most consumer power banks don’t. Even ones that do lose some efficiency to the conversion a DC-direct battery skips entirely.
Do I need a solar panel for Starlink Mini?
Only if you’re off-grid long enough that your battery would run out before you can recharge another way — extended camping, boondocking, or time at anchor. For shorter trips, a charged battery is usually enough on its own.
What’s the difference between a magnetic mount and a VHB mount?
Magnetic mounts attach and detach quickly on steel surfaces with no residue. VHB mounts bond permanently and work on non-magnetic surfaces like aluminum, fiberglass, or composite roofs — pick VHB if your roof isn’t steel, magnetic if you want to move the dish often.
Skip the generic ten-item checklist. Start with a battery sized to your actual runtime needs, add a mount that matches your surface, and only add a case or solar panel once you know you actually need them. Check the 99Wh, 158Wh, or 200Wh product pages for full specs, or read our battery comparison guide if you’re still deciding on capacity.
Planning estimates for Starlink Mini battery runtime at 99Wh, 158Wh, 180Wh and 200Wh, with stated assumptions and capacity tips.
Read more →
Charging a SINVYX battery while it powers Starlink Mini doesn't damage the cells — the BMS keeps the two paths separate. Here's…
Read more →
Every SINVYX spec sheet lists -20°C to 60°C as the operating range, and that number gets repeated everywhere without the one detail…
Read more →